Tensile strength is one of the first numbers engineers look at when a new polymer grade arrives. It tells you how much pulling stress a material can take before it yields or breaks, and it gives formulators and quality teams a common language for comparing batches, suppliers, and design candidates. But polymer testing is less forgiving than it looks. A clean-looking result can be misleading if the specimen was machined poorly, the grips allowed slippage, or the test ran at the wrong speed.
The good news is that reliable polymer tensile testing is a chain of small, practical controls. Once you understand what the standard is asking for and where variability enters the measurement, the process becomes repeatable. This guide walks through the steps we see experienced lab teams follow, from specimen preparation to reading the stress-strain curve.
What “Tensile Strength” Means for Polymers
In a tensile test, a specimen is clamped at both ends and pulled until it fails. The machine records force and displacement, and those values are converted into stress and strain. Stress is force divided by the original cross-sectional area, usually reported in megapascals. Strain is extension divided by the original gauge length, often expressed as a percentage.
For polymers, “tensile strength” can refer to different points on the curve. The maximum stress is often called tensile strength at maximum load. Some materials show a clear yield point before drawing; others are brittle and break with little warning. Ductile polymers may neck, stretch, and break at a stress lower than the peak. That is why a single number without the accompanying curve, test speed, specimen geometry, and standard reference is only part of the story.
Most laboratories work to a recognized method such as ISO 527, ASTM D638, or GB/T 1040. These standards define specimen shapes, conditioning, test speeds, and reporting requirements. Comparisons are only meaningful when the same method and similar strain rates are used.
Step 1: Prepare and Condition the Specimen
Polymer specimens are sensitive to how they are made and stored. Injection-molded, compression-molded, and machined specimens can behave differently because of orientation, residual stress, and surface finish. Use the specimen geometry specified by your standard, and inspect the gauge section for nicks, voids, flash, or tool marks. A small defect at the edge can start a premature crack.
Conditioning matters just as much. Many polymers absorb moisture, and their mechanical response changes with temperature and humidity. Follow the standard’s conditioning time and environment, or at least keep specimens in a controlled space before testing. When you measure width and thickness, take readings at several points along the gauge length and use the average. Avoid measuring over burrs or gates; those features are not part of the load-bearing section.
Test at least five valid specimens for a meaningful average. If one result is far outside the group, look for a physical reason rather than deleting it automatically. A slipped specimen or a specimen that broke in the grip is usually not a valid tensile result.
For work at elevated or sub-ambient temperatures, an environmental chamber on the testing frame helps remove temperature drift from the measurement. This is especially useful when polymer behavior is being evaluated near its service limits.
 WDW Series Environmental Box for Universal Testing MachinesEnvironmental-box variant for WDW electronic universal testing machines, relevant when polymer tests require temperature control before grip selection and alignment.View Product →
Step 2: Mount the Specimen Without Bending It
Grip selection and alignment are where many polymer tests go wrong. Wedge grips, pneumatic grips, and specialized jaw faces all have their place, but the gripping pressure must be enough to prevent slippage without crushing the specimen. Soft polymers may need grip faces with a gentle pattern or a larger contact area. Thin films may need film grips or tabs to spread the load.
Before applying full force, check that the specimen sits vertically and centrally between the grips. A small offset creates bending and can lower the apparent strength. Apply a minimal preload only if your procedure calls for it. For elastomers and soft thermoplastics, even a small pre-tension can change the early part of the curve, so record exactly what was done.
If the specimen slips, the force reading may plateau or jump. If it breaks at the grip edge, the test may be measuring a stress concentration rather than the material. Both situations should be noted and, where possible, corrected before the next run.
A computer-controlled electronic universal testing machine gives you fine control over crosshead speed, data sampling, and test stop conditions, which is helpful when you are comparing similar polymer grades. The frame should be sized so that the expected peak force falls comfortably within its capacity while still giving good resolution.
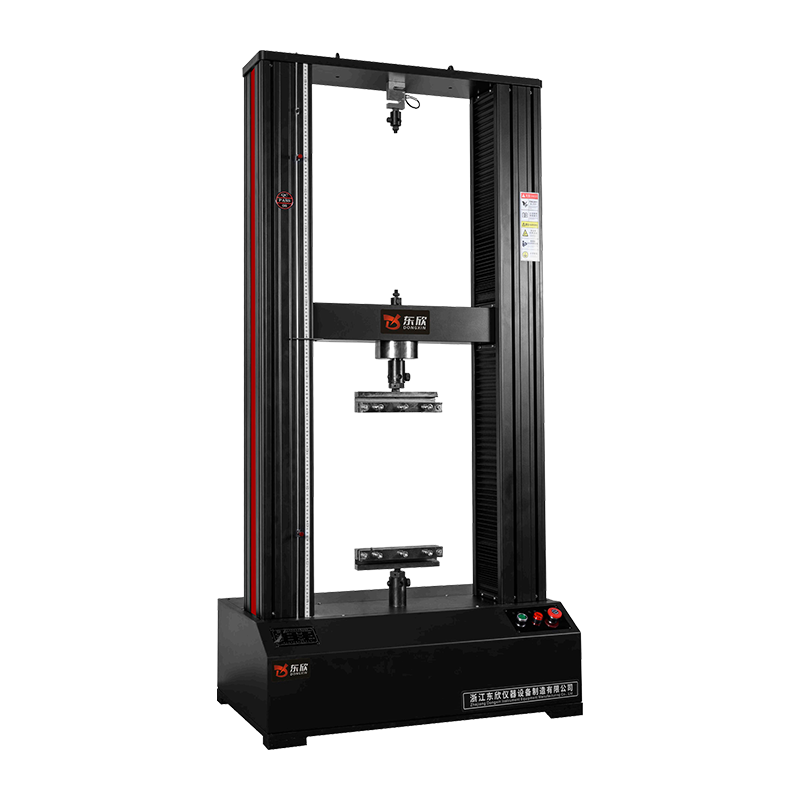 WDW Series Computerized Electronic Universal Testing MachineComputer-controlled WDW testing machine for polymer comparisons where crosshead speed and data sampling need consistent control; check capacity against expected peak force.View Product →
Step 3: Select the Test Speed and Record the Curve
Polymers are viscoelastic, so test speed affects the result. A faster pull generally produces a higher apparent modulus and strength; a slower pull allows more relaxation and drawing. Use the speed specified by the standard for your material and specimen type. If you are developing an internal comparison, keep the speed fixed across all batches and document it.
An extensometer is strongly recommended when you need modulus or precise strain at yield. Crosshead displacement includes machine compliance and grip seating, so it is not a direct strain measurement. Clip-on extensometers, non-contact video extensometers, and laser extensometers are common choices. For soft or fragile specimens, non-contact methods avoid adding mass or damage.
Table 1. Key variables to record during a polymer tensile test.
| Variable |
Why it matters |
Practical check |
| Specimen dimensions |
Stress depends on the original cross-sectional area. |
Measure width and thickness at several gauge points. |
| Conditioning |
Moisture and temperature shift polymer behavior. |
Record time, temperature, and humidity before testing. |
| Grip alignment |
Offset loading introduces bending and premature failure. |
Check verticality and symmetry before the run. |
| Crosshead speed |
Strain rate changes strength and elongation. |
Use the speed required by the governing standard. |
| Extensometer |
Crosshead travel includes machine compliance. |
Use a direct strain device for modulus and yield strain. |
| Failure mode |
Grip breaks and slippage are not valid material data. |
Inspect and note the break location and appearance. |
Step 4: Calculate Tensile Strength and Interpret the Result
Once the test is complete, calculate stress at each data point using the original cross-sectional area. Tensile strength at maximum load is the highest stress value before failure. If the material yields, report yield stress and yield strain separately. If it breaks without a distinct yield point, report stress at break and note the brittle behavior.
Elastic modulus is calculated from the initial linear portion of the stress-strain curve, using the slope within the strain range defined by the standard. Elongation at break is the final strain at failure. For ductile polymers, the curve may show a yield peak, a drop, and a drawing plateau; for brittle polymers, the curve may be almost linear until fracture.
Always report the test standard, specimen type, conditioning, test speed, extensometer type, number of valid specimens, and the average with a measure of scatter. A result of 48 MPa means little without those details. When comparing suppliers or production batches, use the same specimen preparation route and test speed; changing both at once makes the comparison hard to defend.
Common Mistakes That Skew Polymer Tensile Results
- Testing specimens with visible nicks, voids, or incomplete molding.
- Using the wrong grip type or clamping pressure, causing slippage or grip-edge breaks.
- Running at a convenient speed instead of the speed specified by the standard.
- Using crosshead displacement as strain when modulus or yield strain is required.
- Ignoring moisture uptake or testing outside the conditioned environment.
- Reporting an average that includes invalid grip failures or slipped specimens.
None of these mistakes requires a complicated fix. They require a short check before each batch and a habit of documenting what was actually done. That discipline is what turns a tensile test from a single number into useful material evidence.
Build a Test Setup That Matches Your Polymer
Measuring tensile strength of polymers is ultimately about controlling the variables that influence the result: specimen geometry, conditioning, grip alignment, strain measurement, and test speed. When those are under control, the stress-strain curve becomes a reliable fingerprint for comparing formulations, monitoring production, and supporting design decisions.
If you are setting up a new polymer testing line or replacing an aging frame, our team at Zhejiang Yiyu Instrument Equipment can help you match frame capacity, grips, extensometers, and test speed to your standard. You can learn more about our testing equipment background on the about page, or contact our engineers to discuss the specimens and standards you work with.

 简体中文
 English
 русский