A universal testing machine (UTM) is the workhorse of the modern materials laboratory. With the right fixtures, the same frame that pulls a steel bar to fracture can crush a concrete cube, bend a welded joint, or test a fastener in shear. Even so, we often meet new operators who feel nervous standing in front of the frame, the load cell, and the control software for the first time. Having supported thousands of machines in labs, factories, and job-site workshops around the world, our team at Zhejiang Yiyu Instrument Equipment has learned that confident operation comes down to following a repeatable routine. If you want a broader reference alongside this walkthrough, our complete guide to using a universal testing machine adds useful background, but below we focus on the hands-on steps.
Know Your Machine Before You Operate It
Every UTM shares the same basic anatomy: a rigid load frame, a moving crosshead or actuator, a load cell that measures force, grips or platens that hold the specimen, and software that controls the test and records the data. Many setups also include an extensometer for precise strain measurement. Understanding what each component does makes every instruction that follows much easier to absorb.
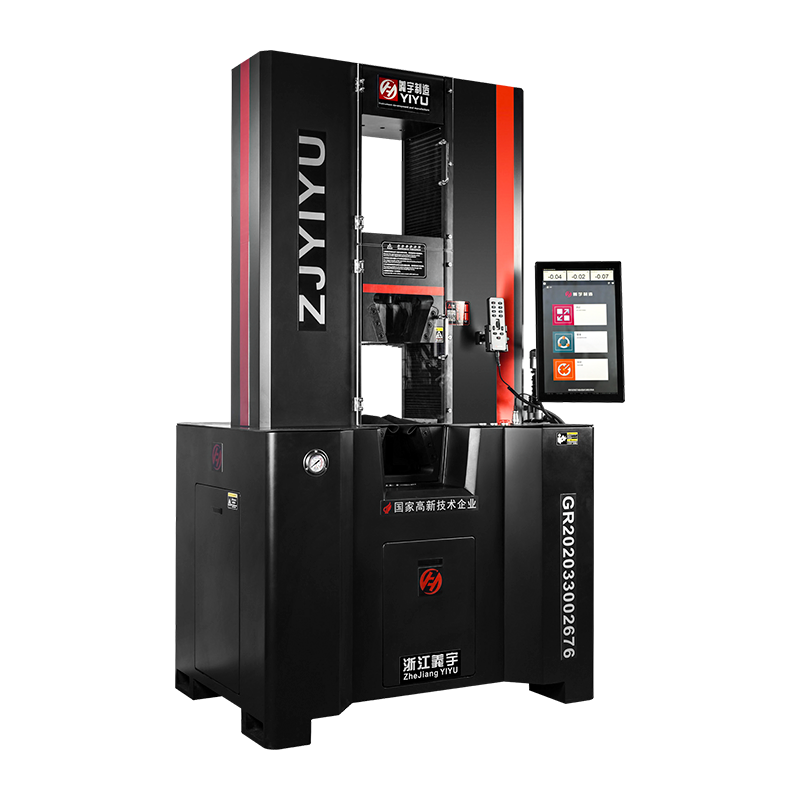
There are two main families to be aware of. Electronic universal testing machines drive the crosshead through a servo motor and precision ball screw, which makes them quiet, clean, and highly accurate in the low-to-medium force range. Electro-hydraulic servo machines use hydraulic actuation to deliver much higher forces, which is why they are the usual choice for rebar, steel strand, and other high-strength materials. The routine in this guide applies to both, though the control panel details differ slightly. For a closer look at the servo-hydraulic family, see our 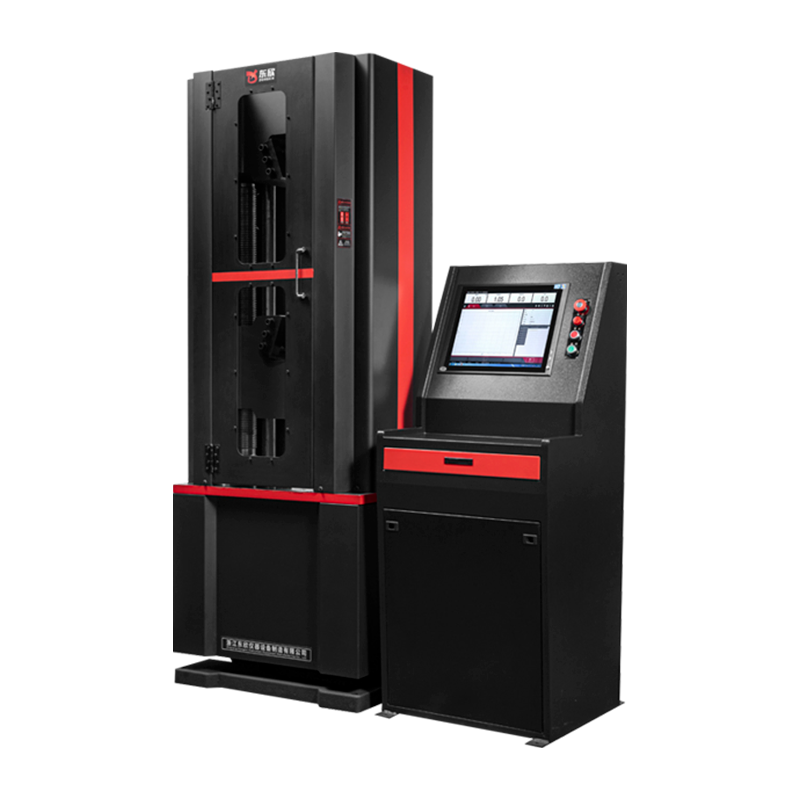 WAW-100/300/600/1000B Electro-Hydraulic Servo Universal Testing MachineThis microcomputer-controlled electro-hydraulic servo series delivers 100kN to 1000kN capacity with a rigid six-column frame and Class 1 accuracy, making it a strong reference point when choosing a servo-hydraulic machine for high-force materials testing.View Product →.
Preparation and Safety Checks Before Every Session
Safety comes before data. Put on safety glasses, keep hands and clothing clear of the grips whenever the machine is powered, and never lean over a brittle specimen during a test, because fracture fragments can fly. Make sure the emergency stop is within reach and the area around the frame is tidy. Then run through the short checklist below. It takes less than five minutes and prevents most of the problems we see in service calls.
Run through this quick checklist before every session to protect the operator, the specimen, and the machine.
| Checkpoint |
What to Verify |
Why It Matters |
| Power supply |
Correct voltage and a stable, grounded connection |
Power dips can cause control errors mid-test |
| Warm-up |
System idles for 10–15 minutes before testing |
Sensors and hydraulics stabilize for repeatable readings |
| Grips and fixtures |
Correct grip type selected; jaw faces clean and unworn |
Worn jaws cause slipping and ruined results |
| Specimen measurement |
Dimensions recorded with calibrated calipers |
Stress calculations depend on accurate dimensions |
| Limit switches |
Crosshead travel limits set correctly |
Prevents over-travel and collision damage |
| Software settings |
Saved test method loaded; units, speed, and data rate confirmed |
Consistent methods produce comparable results |
Step-by-Step: Operating the Machine from Start to Finish
Step 1: Power Up in the Right Order
Switch on the main power, then the controller, then the computer, and finally open the testing software. Allow the machine to idle for ten to fifteen minutes so the sensors and, on hydraulic models, the oil temperature can stabilize. A warm machine gives repeatable numbers; a cold one often drifts.
Step 2: Measure and Mount the Specimen
Measure the width, thickness, or diameter of the specimen with calibrated calipers and enter the values into the software, because every stress result depends on them. Mount the specimen over its full grip length and align it with the loading axis. A crooked specimen introduces bending forces that silently distort your data.
Step 3: Configure the Test Method
Select the test type—tension, compression, or flexure—then set the loading rate, end-of-test criteria, and data acquisition rate according to your specification. Most modern systems let you save each method under its own name, which keeps daily work fast and consistent across different operators.
Step 4: Zero the Readings and Set Protection Limits
With the specimen mounted and the load path clear, tare the force reading to zero, and attach the extensometer carefully on the gauge marks if strain data is required. Before starting, set the software protection limits for maximum force and crosshead travel. These limits stop the machine automatically if something unexpected happens.
Step 5: Run the Test and Stay Watchful
Start the test and keep your eyes on the live force–displacement curve. Watch for a sudden drop in force, which usually means the specimen has slipped in the grips and the result should be discarded. Do not leave the machine unattended, and expect a sharp energy release when testing brittle materials.
Step 6: Finish, Remove, and Save
When the specimen breaks or the test ends, let the crosshead stop completely before opening the grips and removing the pieces. Note the maximum force, record elongation or deflection, export the report, and return the crosshead to its starting position so the machine is ready for the next specimen.
Adapting the Routine for Tension, Compression, and Bend Tests
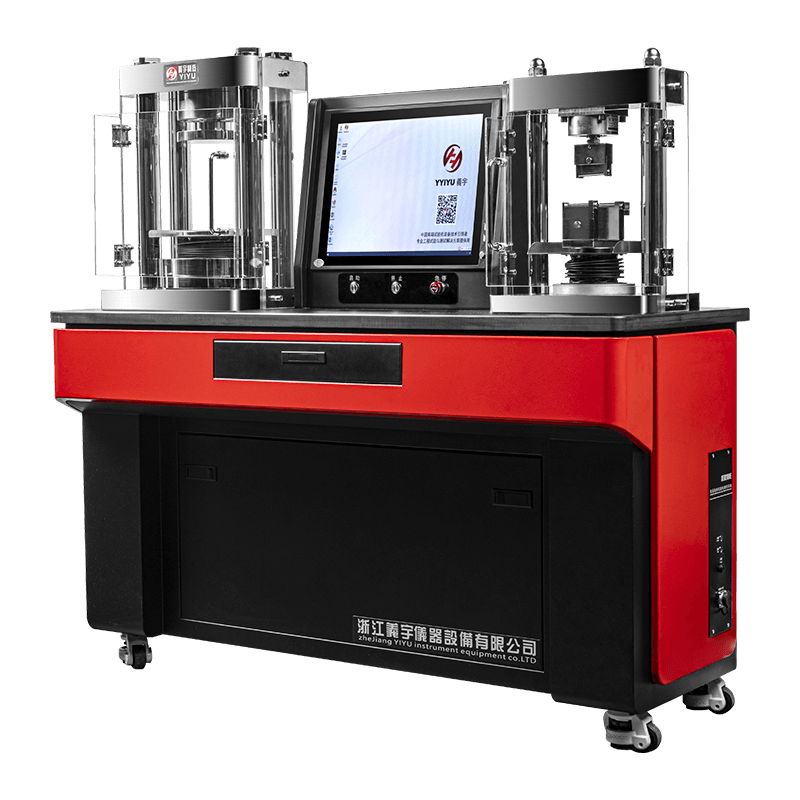
The core workflow never changes, but a few details shift with the test type. For tension tests, use wedge grips suited to the material, mark the gauge length, and decide in advance whether the extensometer stays on until fracture. For compression tests, check that the platen faces are clean and parallel, center the specimen carefully, and remember that uneven end surfaces are the most common cause of scattered results. For bend tests, set the support span to the distance your specification calls for and align the loading nose at mid-span. Many laboratories run all three test types on a single frame simply by swapping fixtures, which is one of the main reasons the UTM earns its keep. If your lab handles varied materials and force ranges on one bench, an electronic model such as the 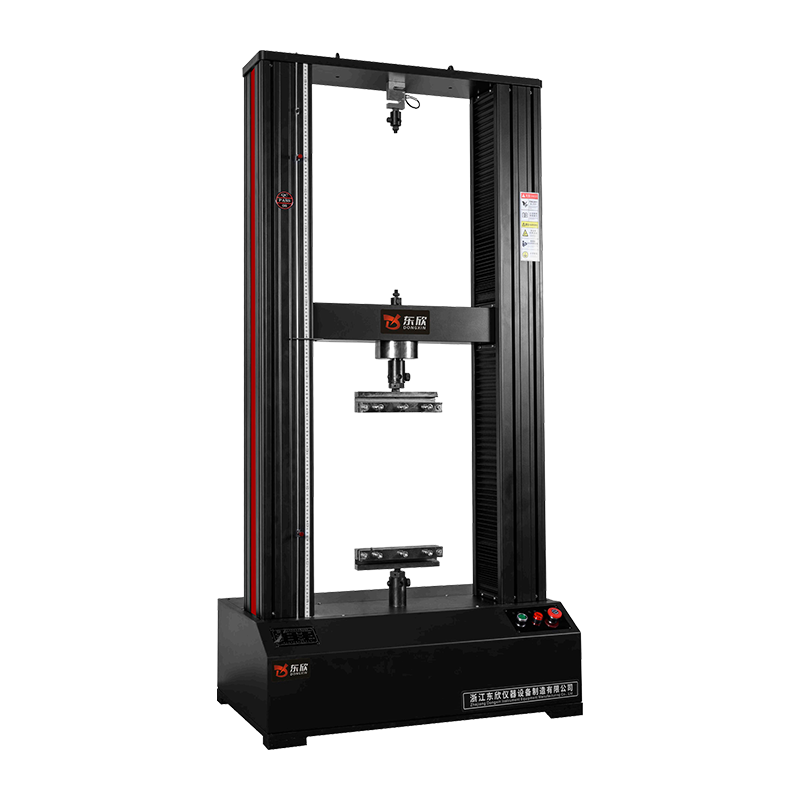 WDW Series Computerized Electronic Universal Testing MachineRunning tension, compression, and bend tests on one frame requires easy fixture swaps. The WDW series supports metals, non-metals, and composites with high-precision ball screw drive and interchangeable grips and extensometers.View Product → makes those fixture swaps especially convenient.
Common Operating Mistakes to Avoid
Over the years, our service engineers have found that most equipment problems trace back to a handful of avoidable habits:
- Skipping the warm-up period and testing on a cold machine.
- Mounting specimens out of alignment, which bends the load path.
- Using worn or mismatched jaw faces that let specimens slip.
- Ignoring protection limits and travel switches.
- Walking away from the machine while a test is running.
- Loading specimens beyond the rated capacity of the frame.
- Removing specimens or changing grips before the crosshead has fully stopped.
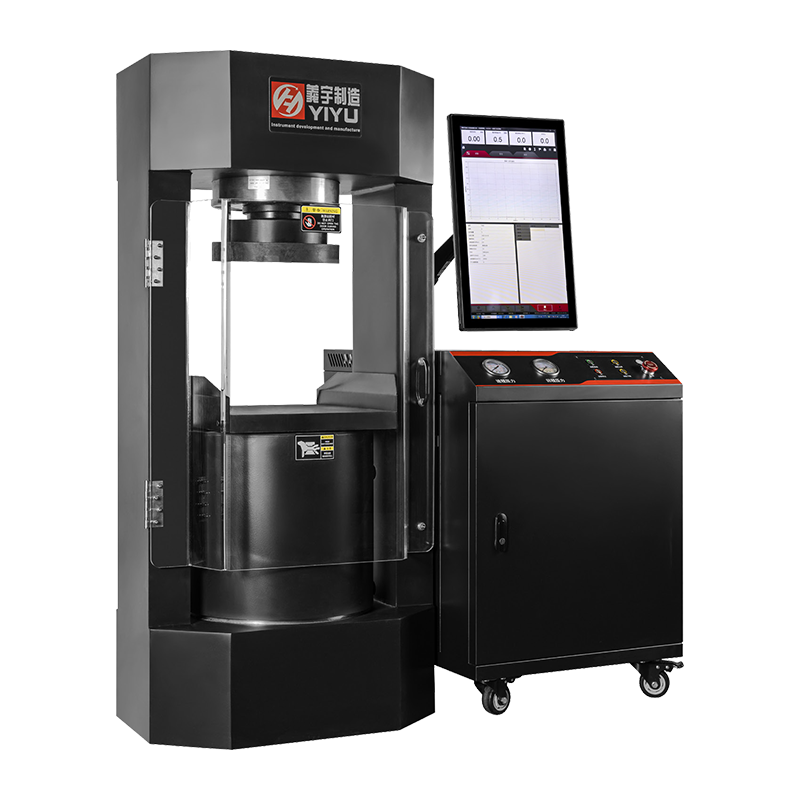
Capacity deserves special mention. If your daily workload regularly pushes near the upper end of the frame's rating, you are working without a safety margin, and accuracy suffers long before anything breaks. In that situation it is worth stepping up to a higher-capacity machine, such as the 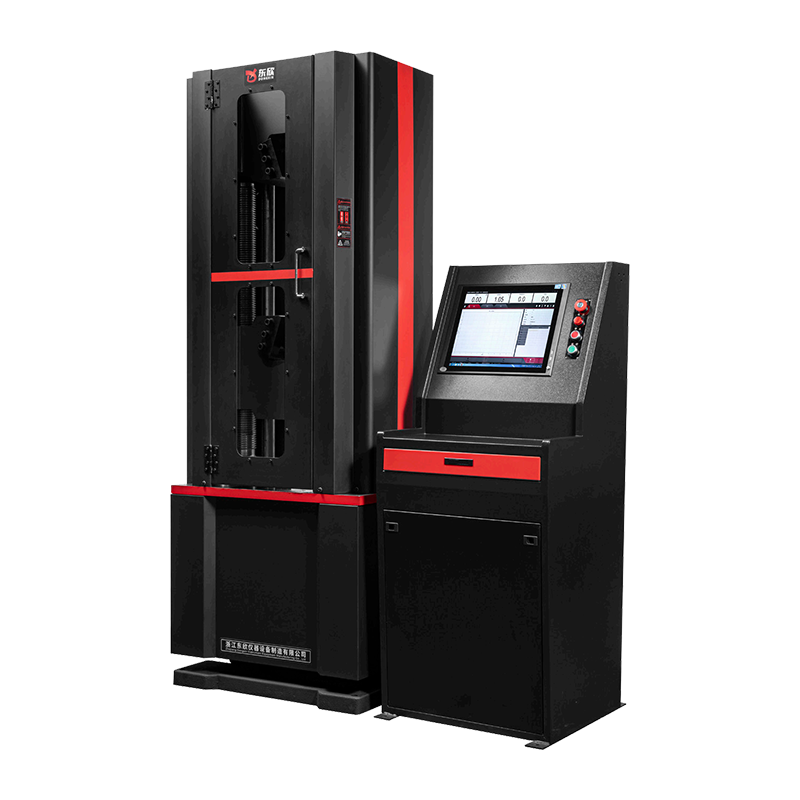 WAW-600/1000G Servo Universal Testing Machine for Steel Bars and StrandsWhen daily workloads push a frame toward its rating, stepping up in capacity preserves accuracy and safety. This 600kN-1000kN dual-purpose machine handles rebar and strand testing with single-space operation and closed-loop servo control.View Product →, rather than risking chronic overload.
Caring for the Machine Between Sessions
A well-maintained UTM holds its accuracy for years. Clean the jaw faces after each session, wipe down the frame, and inspect grips and fixtures for wear before every job. On hydraulic models, check the oil level and look for leaks as part of your weekly routine. Most importantly, schedule periodic verification of the load cell against certified reference standards, and keep a simple logbook of calibrations, repairs, and test counts. When you follow the manufacturer's maintenance schedule, calibration surprises become rare, and your data stays trustworthy between service visits.
Operating a universal testing machine well is not about memorizing a manual; it is about building the same careful sequence into every working day. Start slowly, follow your written method sheets, and treat every unusual reading as a question worth investigating. If questions come up along the way—about fixtures, test methods, or maintenance—our FAQ answers many of the queries we hear most often, and our team is always glad to share what we have learned from supporting testing laboratories around the world.

 简体中文
简体中文
 English
 русский