Concrete beam samples are among the most important test specimens in structural and quality-control labs. They are used to measure flexural strength, which is a key indicator of how a concrete element will behave under bending loads. If you are making your first beam sample, the process may seem full of small decisions: how much water, how to compact the concrete, and how long to cure. Based on our experience supporting concrete testing facilities, we can tell you that the answer is to follow a consistent procedure and control the simple things carefully. This guide takes you through the whole process in a practical way, from preparing your mold to testing the hardened sample.
What Is a Concrete Beam Sample?
A concrete beam sample is a prismatic specimen with a rectangular cross-section, usually cast in a steel or plastic mold. Common dimensions are 150 x 150 x 550 mm for mixes with normal aggregate and 100 x 100 x 400 mm for smaller laboratory batches. The beam is tested in a flexural machine to determine the modulus of rupture, which represents the maximum tensile stress the concrete can carry under bending. Because the test is sensitive to surface defects, internal voids, and cutting or grinding marks, the quality of the sample itself matters just as much as the skill of the tester. A well-made beam sample gives you a reliable number; a poorly made one wastes time and can lead to conservative or unsafe design decisions.
Materials and Tools
Before you start, gather all the materials and tools. This avoids interruptions during mixing and casting, which can affect consistency. Here is a basic checklist:
- Portland cement (Type I or Type II, depending on your mix design)
- Fine aggregate (clean sand, free of clay and organic matter)
- Coarse aggregate (gravel or crushed stone, with a maximum size suited to your mold)
- Clean potable water
- Beam molds (steel or rigid plastic) with end plates and side walls
- Release agent or oil for the mold
- Tamping rod (e.g., 10 mm diameter steel rod for standard beams)
- Vibrator or compacting table (optional but recommended)
- Trowel and steel float
- Mixing tray or drum mixer
- Curing tank or moist room
- Thermometer and humidity meter
- Permanent marker and labels
- Safety gloves, goggles, and dust mask
Your mix proportions should follow a recognized standard. If you are working to ASTM, look at ASTM C78 for flexural strength testing; for European projects, EN 12390-5 is typical; in China, GB/T 50081 is widely used. The table below shows an example mix for a small laboratory batch.
Example mix proportions for a small batch of concrete beam samples
| Material |
Weight (kg) |
| Cement |
10.0 |
| Fine aggregate |
18.0 |
| Coarse aggregate |
28.0 |
| Water |
5.0 |
Step-by-Step Procedure
Prepare the Formwork
A clean and rigid mold is the foundation of a good beam sample. Start by wiping the interior with a clean cloth and oiling it with a thin layer of release agent. Tighten all screws and clamps, and seal any potential leakage point with silicone or a light coat of heavy grease. Place the mold on a flat surface. Use a spirit level to confirm that the mold is horizontal, because an uneven mold leads to a wedge-shaped beam that is difficult to test.
Mix the Concrete
Measure your ingredients by weight whenever possible; weight gives much better accuracy than volume. Dry-mix the cement, sand, and coarse aggregate in a clean mixer for about one minute, then add water gradually. For most mixes, the water-cement ratio is between 0.4 and 0.6, but always follow your mix design. The mixture should be uniform and workable, with no dry spots or bleeding. A small drum mixer is ideal because it produces a consistent batch. If you mix by hand, use a large tray and mix with a trowel until the concrete is homogeneous and every aggregate particle is coated with paste.
Cast the Beam
Place the concrete into the mold in two equal layers. For each layer, fill the mold to roughly half its height, then compact. Use a tamping rod to rod the concrete 25 to 30 times per layer, going around the edges and into the corners. If you use an internal vibrator, insert it for short bursts and withdraw it slowly; keep it in the concrete long enough to eliminate air bubbles but not long enough to separate the aggregate. After compacting the top layer, strike off the excess with a trowel, finish the surface smooth, and tap the mold gently on the table to settle the material. Label the sample with the batch number and time.
Cure the Sample
Concrete gains strength through hydration, and hydration needs moisture and a moderate temperature. Cover the mold with a plastic sheet or wet burlap immediately after casting. Keep the mold in a vibration-free area. Typically, you remove the mold after 24 to 48 hours, depending on the concrete grade. Then put the beam into a curing tank filled with water at 20°C ± 2°C, or into a climate-controlled curing room with a relative humidity above 95%. Store beams on their side or with the cast surface not in contact with the tank bottom. Keep them there until the test age, usually 7 or 28 days.
Demold and Prepare for Testing
When the curing period is complete, take the beam out and dab it dry with a cloth. Mark the beam clearly with the date, mix ID, and test age. Check the dimensions with a caliper; if the cross-section is not uniform or the edges are chipped, note it before testing. For flexural tests, any rough spots on the surface should be smoothed with a grinding stone, and the loading contact points should be clean. If you are not testing immediately, keep the sample moist to avoid drying out.
Testing the Concrete Beam Sample
Flexural testing places the beam sample on two support rollers and applies a load at one or two points until the beam breaks. The most common arrangement is third-point loading, where the load is applied at two points dividing the span into thirds. This gives a more uniform bending moment in the middle section. The machine records the maximum load, and flexural strength is calculated from the load, the span length, and the beam dimensions.
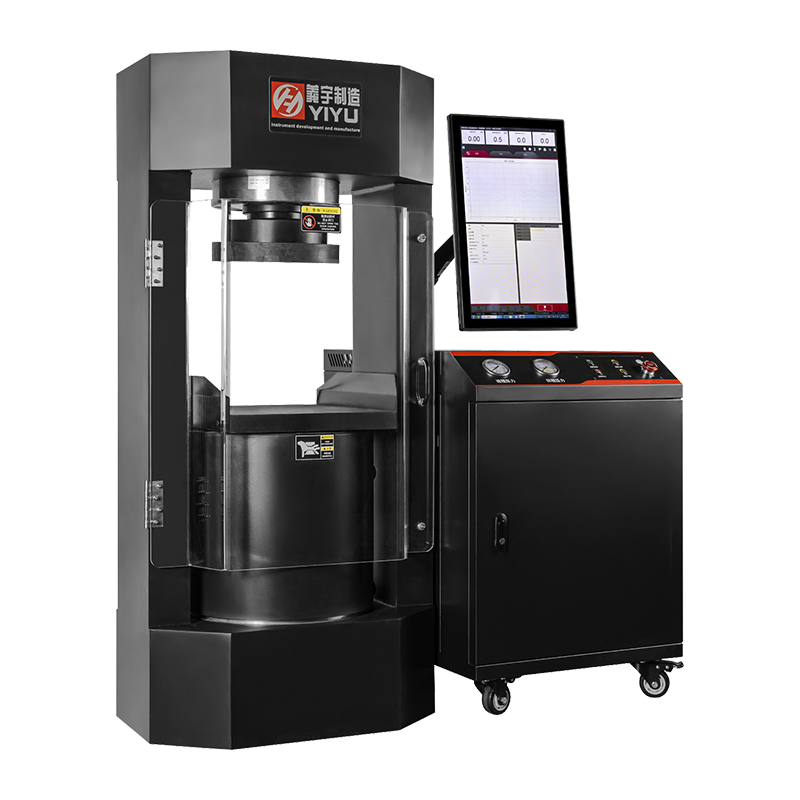
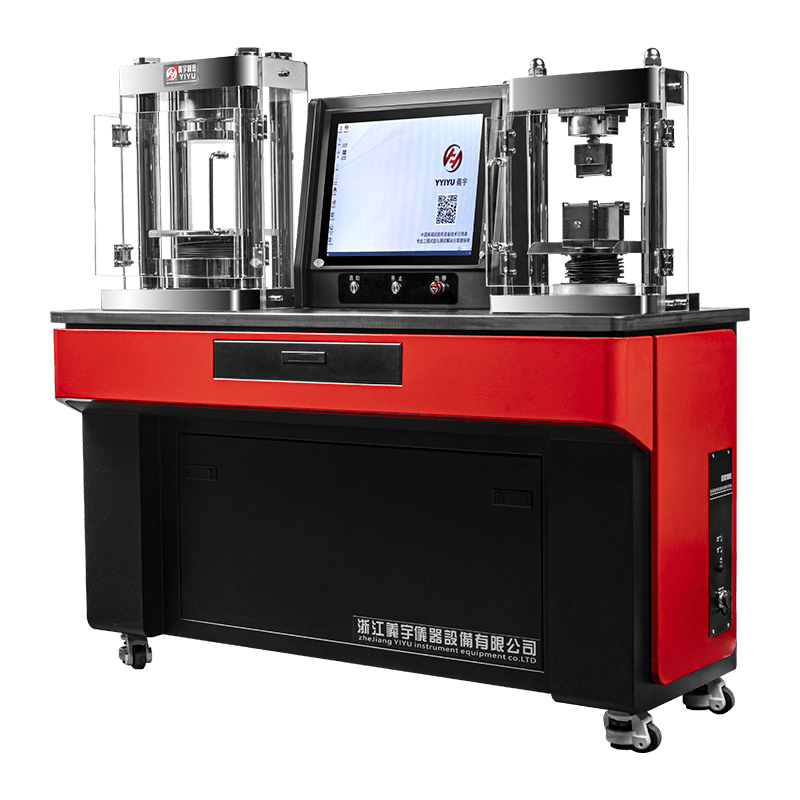
Many quality-control labs use a compression-flexure integrated machine because it can handle both concrete compression cubes and flexural beams in one unit. This saves floor space and simplifies calibration. If you are comparing machine options, you may find our guide on compression-flexure integrated machines useful. It covers the main technical parameters and how to match them to your workload.
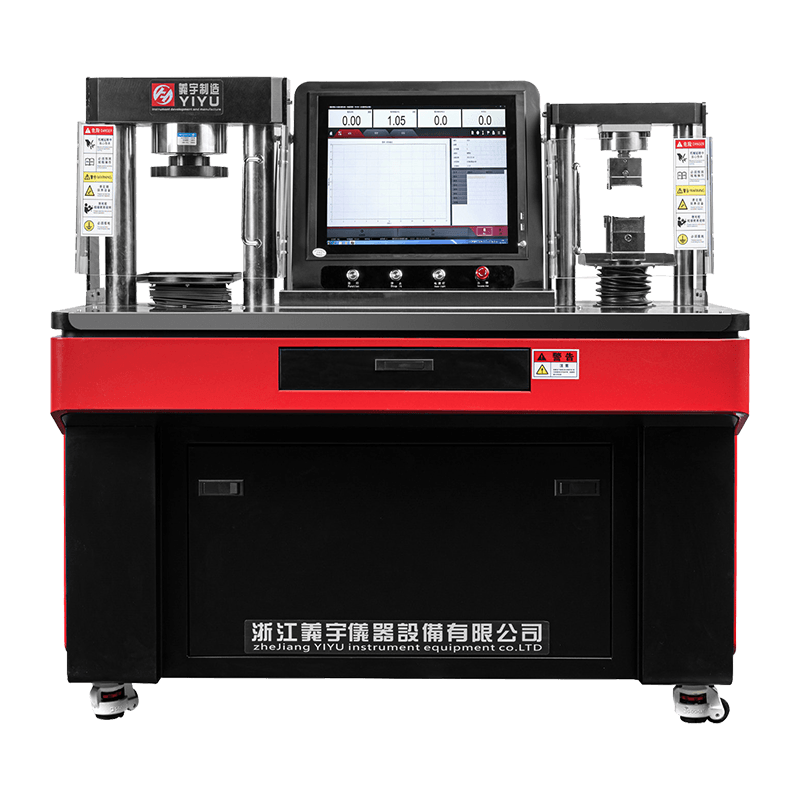 Microcontroller-Controlled Cement Compression and Flexure All-in-One MachineThis YAW-D Series unit integrates compressive and flexural testing in one machine, saving floor space and simplifying calibration. Ideal for cement labs requiring reliable, consistent results.View Product →
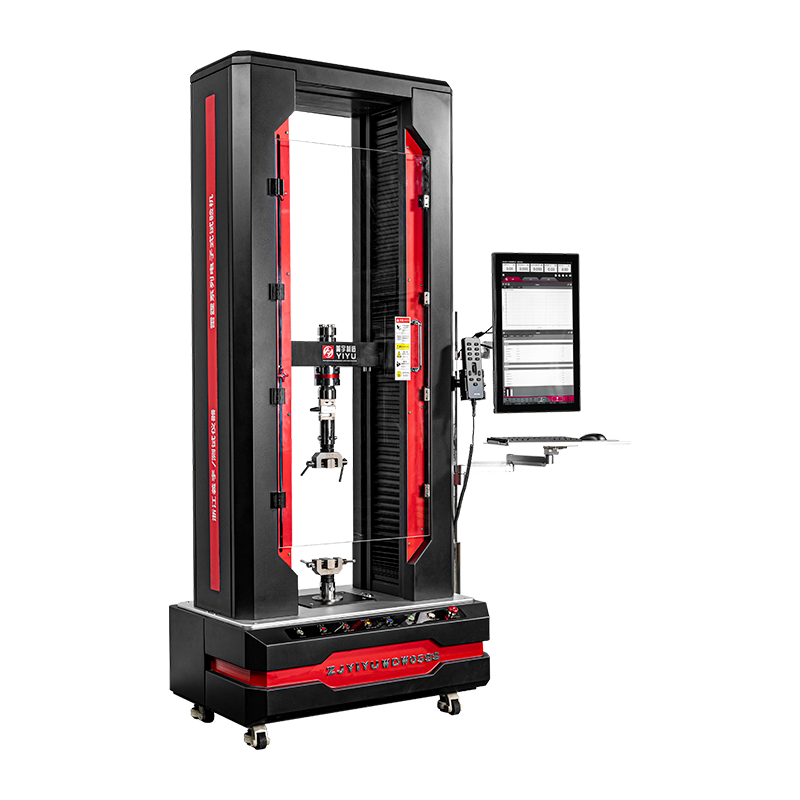
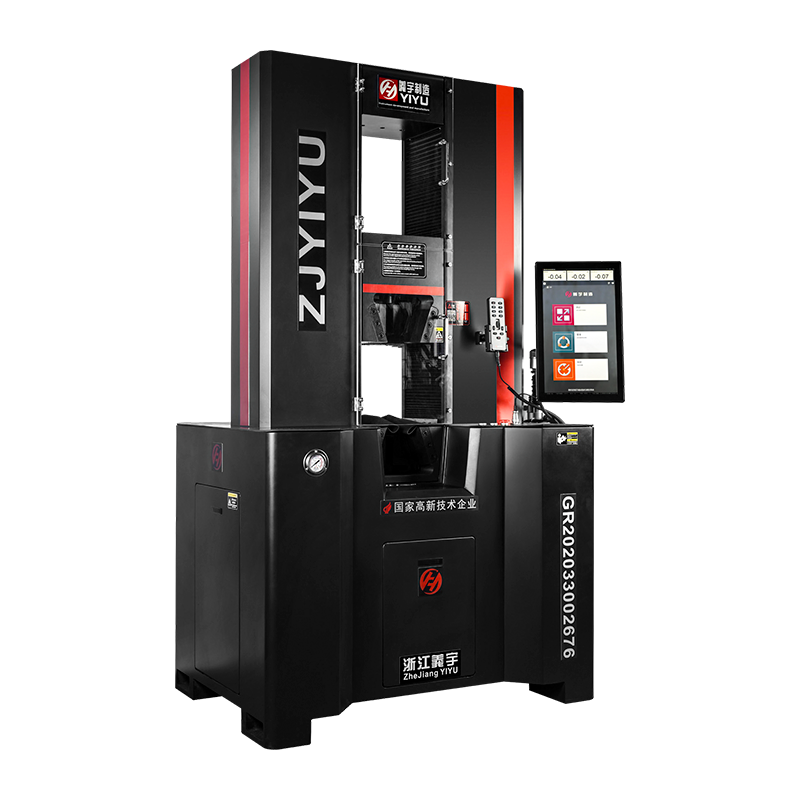
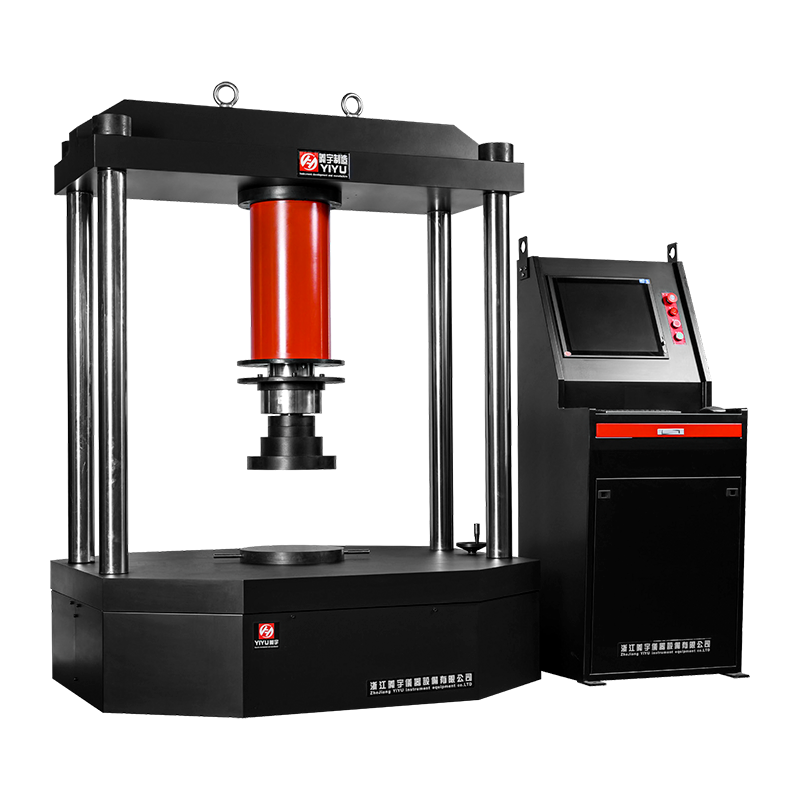
For high-volume testing, a servo-controlled model can apply a precise loading rate and record the curve automatically. This reduces operator influence and gives you more consistent results. We have also seen how a dual-chamber machine speeds up testing when you need to alternate between compression and flexural tests.
 YYW-SS Series with Bidirectional Oil Cylinder for Cement TestingThis microcomputer-controlled integrated machine features a casting bidirectional oil cylinder for precise compression and flexural testing. It suits high-volume labs needing accurate loading and automated measurement.View Product →
When you place your beam on the machine, make sure the loading rollers are aligned with the marked positions. Start the pump and let the load increase gradually. Do not adjust the specimen once loading starts. After fracture, note the crack pattern; a brittle failure with a straight vertical crack is typical for concrete in flexure.
If you need help choosing a testing machine or checking whether your current setup meets the relevant standard, contact our engineering team. There is no need to test in the way you learned ten years ago; modern equipment and careful sample preparation make a big difference.
Final Thoughts
Making a concrete beam sample is not difficult, but it requires a little discipline. Each step, from mold preparation to curing temperature, influences the test result. Over the years, we've built numerous testing machines and seen how a reliable sample-making process helps companies avoid rejected batches and unexpected structural failures. If you are setting up a concrete laboratory or need advice on flexural testing equipment, we'd be glad to help. You can reach us through our contact page, and we'll get back to you with practical suggestions.

 简体中文
 English
 русский