Designing a road, evaluating a subgrade, or checking whether a borrow pit material can handle future traffic loads — the California Bearing Ratio, better known as CBR, is often the number that decides. This guide explains how to determine CBR value of soil in a clear and practical way, covering the equipment, the test procedure, the calculations, and the common pitfalls that can ruin otherwise good results.
What CBR Means and Why It Matters
The CBR test compares the penetration resistance of a compacted soil with that of a standard crushed rock. During the test, a metal plunger is pushed into a compacted, soaked soil specimen at a fixed rate, and the forces measured at specific penetration depths are converted into a percentage. A CBR of 10 means the soil offers 10 percent of the resistance of the standard material.
Engineers use CBR values to design flexible pavement thickness, verify subgrade strength, and select materials for subbase and base layers. It is also used for quality control on compacted fills and as an index for soil improvement decisions. Typical values help put results in perspective.
Typical CBR values for common pavement and subgrade materials.
| Material type |
Typical CBR range |
Common use |
| Well-graded crushed stone |
80 - 100 |
Base course |
| Gravelly soils |
40 - 80 |
Subbase |
| Sandy soils |
15 - 40 |
Subgrade, select fill |
| Silty soils |
5 - 15 |
Subgrade |
| Clays |
2 - 8 |
Weak subgrade, needs improvement |
Test Equipment and Setup
Before you start, make sure your setup is complete. The CBR test is not forgiving of improvised parts. Here is the equipment you will need:
- A loading frame or compression testing machine with a capacity of at least 50 kN, capable of maintaining a constant penetration rate of 1.27 mm per minute.
- A cylindrical plunger, 50 mm in diameter, with a beveled end area of 1935 square millimeters.
- A CBR mold, 152 mm inside diameter and 127 mm tall, complete with collar and perforated base plate.
- A spacer disc, filter paper, and surcharge weights totaling 4.5 kg.
- A swell measurement apparatus with tripod and dial gauge.
- A soaking tank large enough to keep the mold fully immersed for 96 hours.
- A compaction hammer or vibrating hammer, oven, balance, and moisture tins.
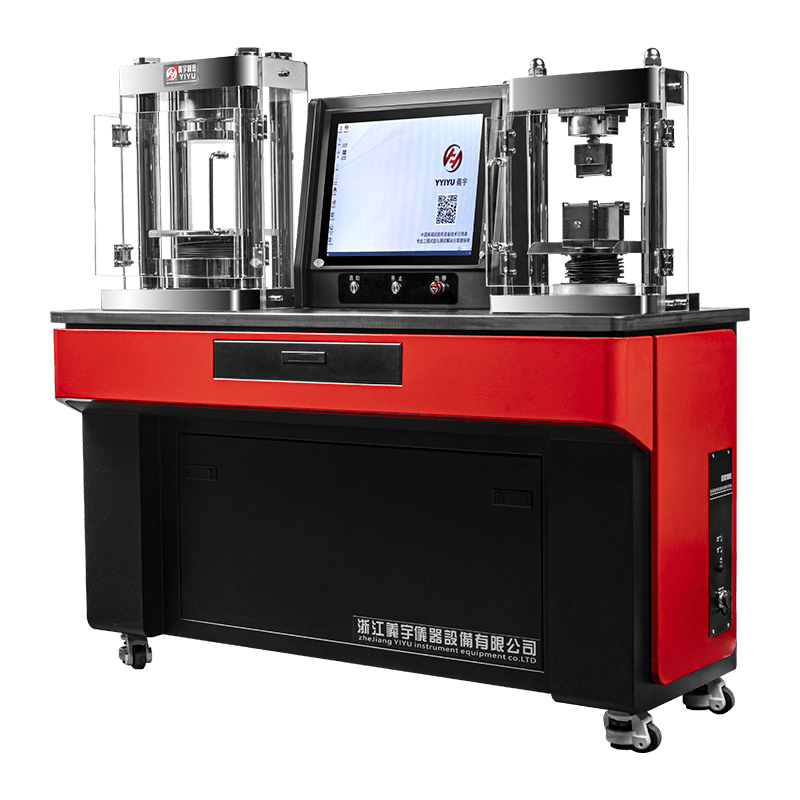
For the loading system itself, choose a machine with a rigid frame and precise load readout. In our experience, the YAW series microcomputer-controlled electrohydraulic servo pressure testing machines handle this work reliably because they keep the penetration rate steady and record load values accurately.
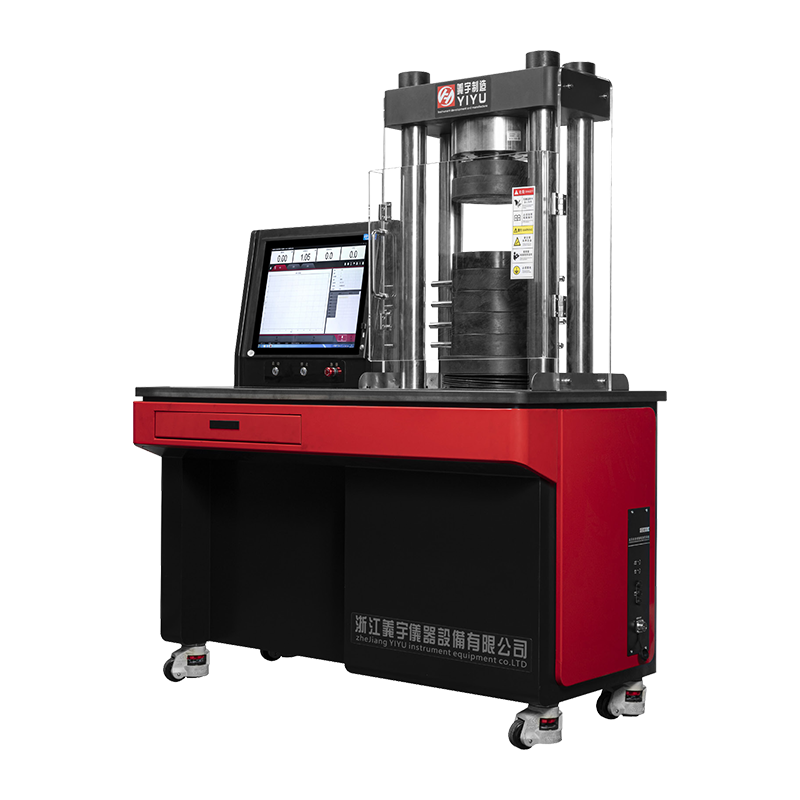 YAW Series Electro-Hydraulic Servo Pressure Testing MachineThis machine provides precise load control and accurate readings, making it a dependable choice for maintaining steady penetration rates during CBR or compression tests.View Product →
Step-by-Step CBR Test Procedure
1. Prepare the Sample
Air-dry the soil until it is friable, break up clods, and remove particles larger than 20 mm. Determine the initial moisture content, then add water to bring the sample to the optimum moisture content, normally the value from the standard Proctor compaction test. Mix thoroughly and store the sample in a sealed container for at least 12 hours so the moisture distributes evenly. If the material contains oversized gravel particles, replace them with an equal mass of finer material.
2. Compact the Specimen
Assemble the CBR mold with the collar and spacer disc in place. Compact the soil in three equal layers, with 56 blows per layer using a 2.5 kg rammer falling 305 mm, for standard compactive effort. For modified effort, use five layers with the heavier rammer. After compaction, remove the collar, trim the excess soil flush with the mold top, and weigh the mold to calculate wet density. Take moisture samples from the top and bottom of the specimen.
3. Soak the Specimen
Place filter paper and the perforated base plate on the specimen, then place surcharge weights totaling 4.5 kg on the surface. Mount the swell gauge, fill the tank with clean water, and soak for 96 hours. Record the final swell reading at the end of the soaking period. Swelling is expressed as a percentage of the initial specimen height, and it matters a great deal for materials that expand when wet.
4. Run the Penetration Test
After soaking, remove the specimen from the tank and allow it to drain for about 15 minutes. Place the mold on the lower plate of the testing machine, and apply a seating load of 50 N using the plunger. Set the load and penetration gauges to zero. Penetrate the plunger at 1.27 mm per minute, recording readings at penetrations of 0.5, 1.0, 1.5, 2.0, 2.5, 3.0, 4.0, 5.0, 7.5, 10.0, and 12.5 mm. Stop the test once the penetration reaches 12.5 mm.
How to Calculate the CBR Value
Plot the measured load against penetration depth. Then divide each load by the corresponding standard load and multiply by 100. The standard loads used for comparison are 13.2 kN at 2.5 mm penetration and 20.0 kN at 5.0 mm penetration.
CBR (%) = (Measured load / Standard load) x 100
Example: if the measured load at 2.5 mm penetration is 3.3 kN, the CBR is calculated as (3.3 / 13.2) x 100 = 25 percent. The 2.5 mm result normally controls the reported value. If the 5.0 mm value comes out higher, repeat the test as a check; if the higher result is confirmed, report the 5.0 mm value.
If the load-penetration curve has an initial concave upward shape, usually caused by an uneven surface or seating problems, apply a curve correction. Draw a tangent to the steepest part of the curve, extend it back to the penetration axis, and shift the origin to that intersection before reading the corrected load values.
Laboratory CBR vs. Field CBR
Laboratory CBR is the reference method because it controls compaction effort, moisture content, and soaking conditions. Field CBR testing, by contrast, is performed directly on the subgrade using portable equipment or a dynamic cone penetrometer correlated to CBR. Field checks are faster and well suited for verifying compacted layers in place, but they are less repeatable. Most specifications still rely on the laboratory CBR for pavement design, with field tests reserved for quality assurance during construction.
Common Mistakes That Skew CBR Results
- Testing at a moisture content far from the optimum, which changes the measured strength significantly.
- Leaving oversized particles in the sample, creating unrepresentative pockets of strength.
- Compacting unevenly or using the wrong compactive effort for the specification being followed.
- Failing to correct the load-penetration curve before reading values.
- Using a worn or clogged plunger that no longer seats flush against the soil surface.
- Recording loads without checking the calibration of the load cell and gauges.
Choosing Equipment That Gives You Confidence
CBR work demands consistency. The frame must be rigid enough to absorb heavy loads without deflection, the penetration speed has to remain constant, and the measurement system must capture small increments reliably. That is why we build and test our pressure testing machines with the same care we would want in our own laboratory.
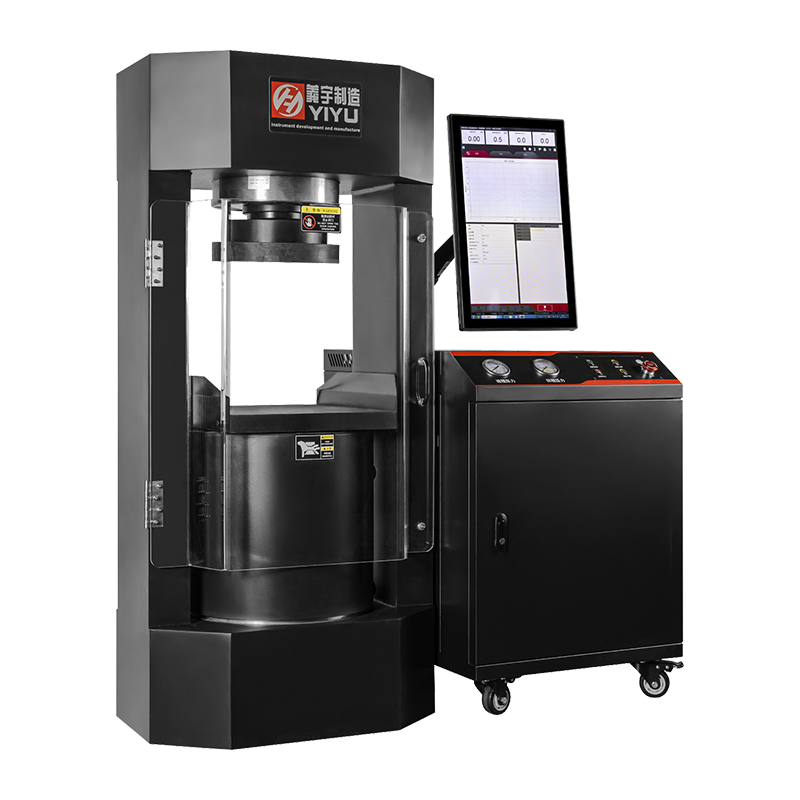
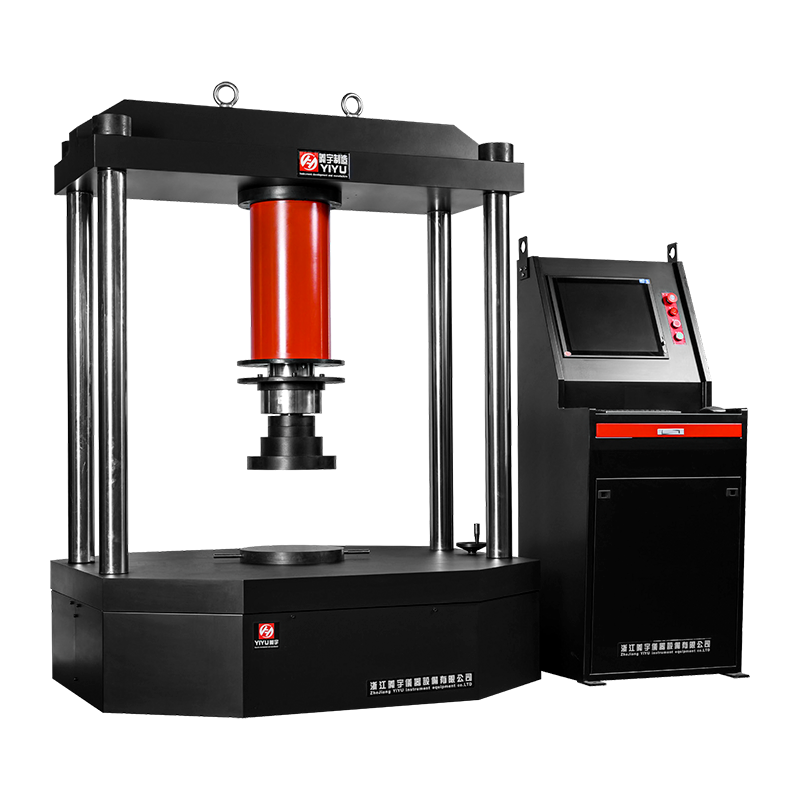
The YES2000 digital pressure testing machine is a popular choice for laboratories that need straightforward and reliable compression testing. Because Yiyu Instrument has supplied testing equipment to thousands of laboratories and research institutions, we enjoy helping customers set up complete systems, from the penetration plunger and molds to the loading frame and data acquisition.
 YES-2000 Digital Pressure Testing Machine for Reliable Compression TestsA straightforward, dependable option for labs needing consistent compression testing, this machine pairs well with CBR setups and is backed by extensive supplier experience.View Product →
For a broader look at how hydraulic compression machines support construction material testing, you can read our compression testing machine guide. If you are setting up a CBR laboratory or upgrading an old loading frame, feel free to talk with our technical team about the configuration that fits your budget and workload.
Determining the CBR value is not just about following a standard procedure. It is about obtaining a result you can trust for years of pavement performance. Follow the steps carefully, keep the equipment calibrated, and use experienced hands for compaction and penetration. The result will be a CBR value that genuinely represents your material.

 简体中文
 English
 русский